Proxy Configuration Guide
This document describes how to configure proxy settings for Cortex to be able to work behind your proxy.
Command Line Interface (CLI)
Basic Usage
cortex config [OPTIONS] [COMMAND]
To display all current configurations
cortex config status
Example Output:
+-----------------------+------------------------+| Config name | Value |+-----------------------+------------------------+| no_proxy | localhost,127.0.0.1 |+-----------------------+------------------------+| proxy_password | |+-----------------------+------------------------+| proxy_url | http://localhost:8080 |+-----------------------+------------------------+| proxy_username | |+-----------------------+------------------------+| verify_host_ssl | true |+-----------------------+------------------------+| verify_peer_ssl | false |+-----------------------+------------------------+| verify_proxy_host_ssl | true |+-----------------------+------------------------+| verify_proxy_ssl | true |+-----------------------+------------------------+
Options
| Option | Description | Example |
|---|---|---|
-h, --help | Print help message and exit | |
--proxy_url <proxy_url> | Set the proxy URL | cortex config --proxy_url http://localhost:8080 |
--proxy_username <proxy_username> | Set the username for proxy | cortex config --proxy_username my_username |
--proxy_password <proxy_password> | Set the password for proxy | cortex config --proxy_password my_password |
--no_proxy <no_proxy> | Set the no_proxy list | cortex config --no_proxy localhost,127.0.0.1 |
--verify_proxy_ssl [on/off] | Verify proxy SSL | cortex config --verify_proxy_ssl on |
--verify_proxy_host_ssl [on/off] | Verify proxy host SSL | cortex config --verify_proxy_host_ssl on |
--verify_peer_ssl [on/off] | Verify peer SSL | cortex config --verify_peer_ssl off |
--verify_host_ssl [on/off] | Verify host SSL | cortex config --verify_host_ssl on |
Proxy API Configuration
Endpoints
To get the current configuration
GET /v1/configs
or
curl GET http://127.0.0.1:39281/v1/configs
Response
{ "allowed_origins": [ "http://localhost:39281", "http://127.0.0.1:39281", "http://0.0.0.0:39281" ], "cors": true, "no_proxy": "localhost,127.0.0.1", "proxy_password": "", "proxy_url": "http://localhost:8080", "proxy_username": "", "verify_host_ssl": true, "verify_peer_ssl": false, "verify_proxy_host_ssl": true, "verify_proxy_ssl": true}
To update the current configuration
PATCH /v1/configs
Request Headers
Content-Type: application/json
Request Body
{ "no_proxy": "localhost", "proxy_url": "http://localhost:8080", "proxy_username": "my_username", "proxy_password": "my_password", "verify_host_ssl": false, "verify_peer_ssl": false, "verify_proxy_host_ssl": false, "verify_proxy_ssl": false}
Parameters
| Field | Type | Description |
|---|---|---|
no_proxy | string | List of origins which request do not need to go through a proxy. Comma separated value |
proxy_url | string | Proxy URL |
proxy_username | string | Username for proxy authentication |
proxy_password | string | Password for proxy authentication |
verify_host_ssl | boolean | Verify host SSL |
verify_peer_ssl | boolean | Verify peer SSL |
verify_proxy_host_ssl | boolean | Verify proxy host SSL |
verify_proxy_ssl | boolean | Verify proxy SSL |
Response
{ "config": { "allowed_origins": [ "http://localhost:39281", "http://127.0.0.1:39281", "http://0.0.0.0:39281" ], "cors": true, "no_proxy": "localhost", "proxy_password": "my_password", "proxy_url": "http://localhost:8080", "proxy_username": "my_username", "verify_host_ssl": false, "verify_peer_ssl": false, "verify_proxy_host_ssl": false, "verify_proxy_ssl": false }, "message": "Configuration updated successfully"}
Testing proxy configuration
You can test your proxy configuration using mitmproxy. This guide is written on macOS, but you can use it on any other platform.
Install mitmproxy
brew install mitmproxy
Start mitmproxy
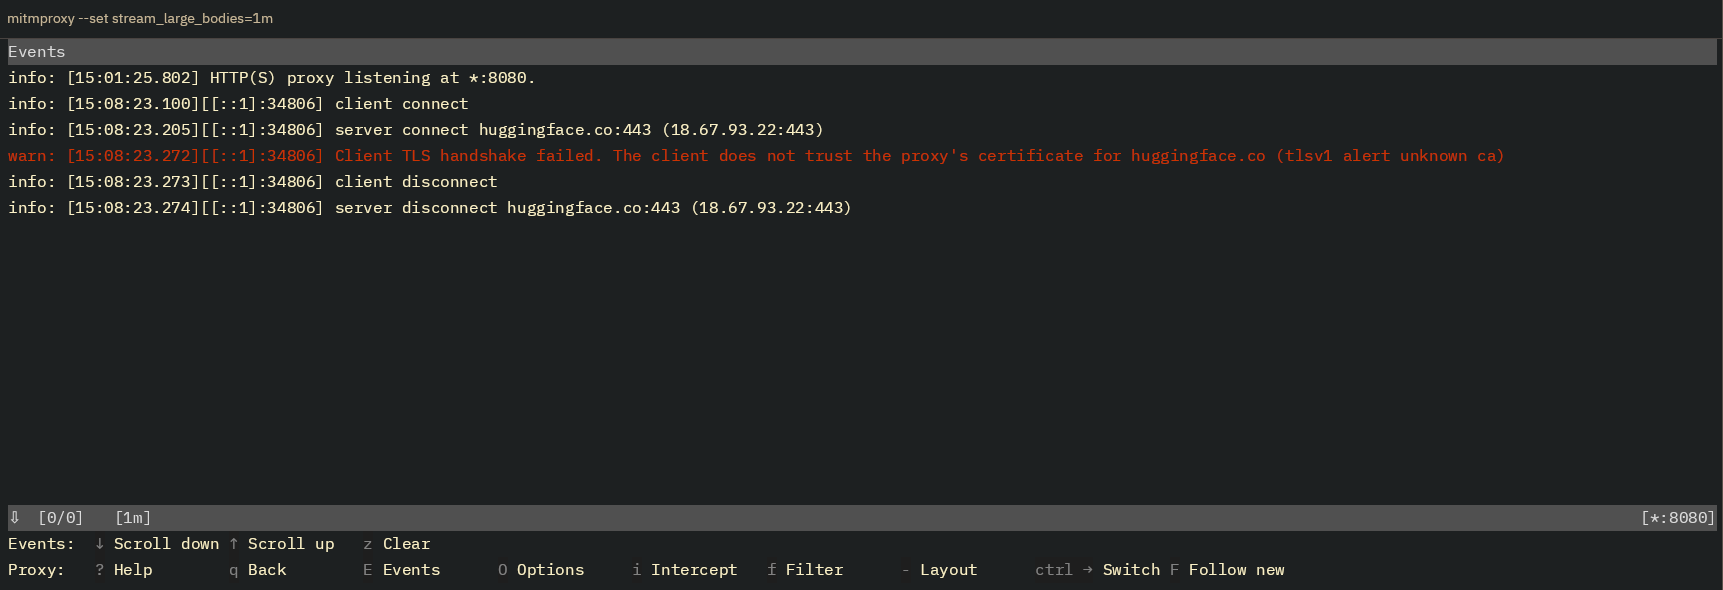
mitmproxy --set stream_large_bodies=1m
mitmproxy will start on port 8080. After mitmproxy has started, you can add different options by pressing
the capital letter O and this will display an optional screen. As an example, try searching for proxyauth
and hit enter when you find it. Then, type username:password and hit enter again. You will see your newly
added option is red-colored.
Now we can use the Cortex CLI to tweak our config and use that proxy. In mitmproxy, press the capital letter E
to see the event log. You will see the request and response logs in this screen.
Let's try changing our config in a different terminal window.
cortex config --proxy_url http://localhost:8080 --proxy_username username --proxy_password password
Configuration updated successfully!
Let's try to use a wrong authentication for your proxy.
cortex config --proxy_password wrong_pw
